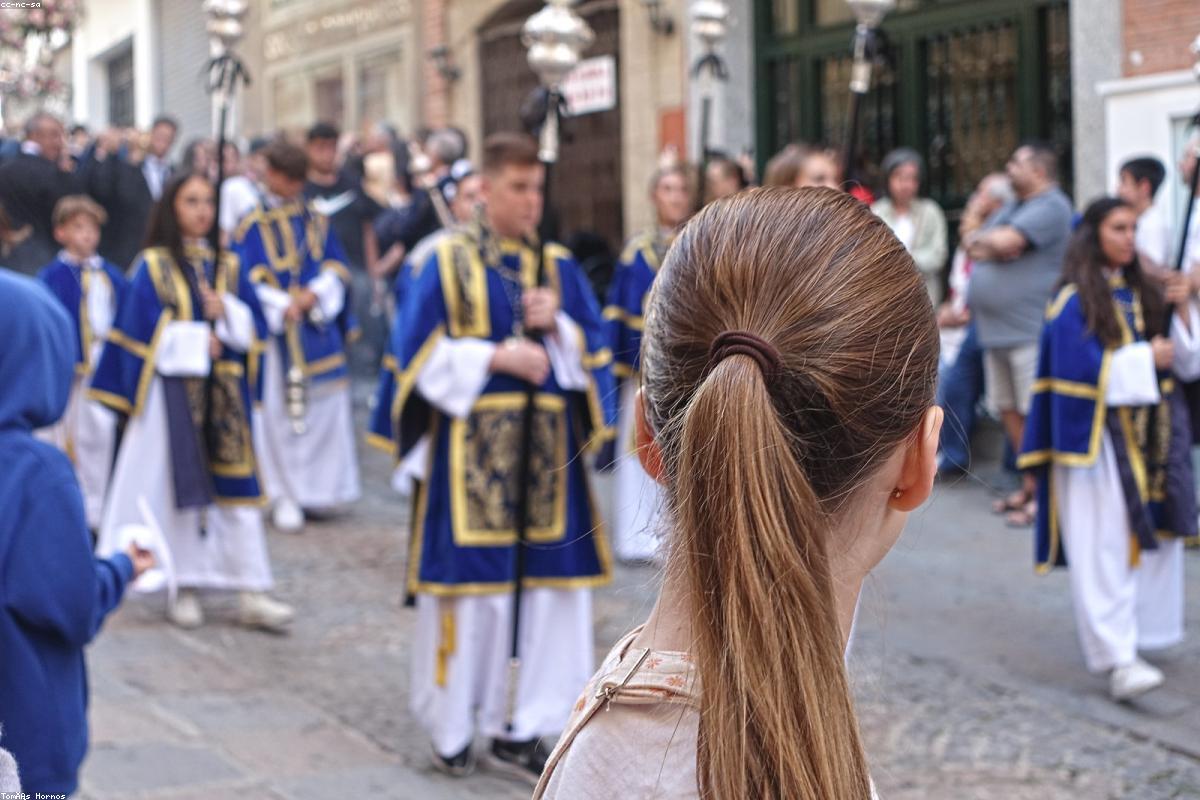
Backlighting, with the sun behind your subject, produces some of the most beautiful images in photography: glowing hair, soft rim light, dreamy haze. It also produces some of the most frustrating failures: dark silhouetted faces, blown-out skies, and washed-out haze that kills contrast. The difference is not luck. This guide explains why backlight behaves the way it does and gives you a repeatable method to get glowing, detailed backlit photos instead of muddy ones.
Why backlight is hard
When the main light source is behind your subject, the side facing your camera is in shadow. Your camera meters the whole scene, sees a very bright background, and exposes to protect it. The result is a correctly exposed sky and an underexposed, dark subject. Push exposure the other way to save the face, and the background blows to white. Backlight is fundamentally a high dynamic range problem: the gap between the brightest and darkest parts of the scene is wider than the sensor can hold in one frame.
The two looks, and choosing on purpose
The silhouette
Sometimes the dark subject is the point. A clean silhouette against a colorful sky is striking. To get it, expose for the bright background and let the subject go black. Keep the shape clear and uncluttered so it reads instantly.
The glow
More often you want a lit subject with a bright, detailed background: rim light on the hair, a visible face, a sky that is bright but not pure white. This is the harder look and the rest of this guide focuses on it.
Metering for a lit subject
Expose for the subject’s face, not the scene average. Use spot metering on the face, or dial in positive exposure compensation (often +1 to +2 stops) until the face looks right, accepting that the background will brighten. Shoot RAW so you can recover the highlights. Watch your histogram: let it push right, but avoid a hard spike jammed against the far right edge, which means clipped, unrecoverable highlights.
Adding fill light
The cleanest fix is to add light to the shadow side. A reflector bounces the sun back onto the face and often looks completely natural. Fill flash works too: set it low, around minus one stop of power, so it lifts the shadows without looking artificial. Positioning the subject where a bright wall or light ground reflects up into their face can do the same job with no gear at all.
Controlling flare and haze
When the sun hits your front element directly, contrast collapses and colors go milky. Sometimes that haze is a lovely effect; often it is not. To control it, use a lens hood, and hide the sun partly behind your subject’s head or the edge of the frame. Shading the front of the lens with your hand or a hat, just out of frame, restores contrast instantly. A clean lens matters more here than anywhere else, because dust and smudges catch the light and spread flare.
A real example
Late-afternoon portrait, sun low and directly behind the subject. My first frame metered the scene and gave me a black face against a decent sky. I switched to spot metering on the cheek, which brought exposure up about 1.7 stops. Now the face was right but the background was near white and the image looked hazy. I moved so the subject’s head just eclipsed the sun, which cut the flare and restored contrast, then had an assistant hold a white reflector low to bounce warmth back onto the shadowed side. The final frame had glowing rim light, a natural face, and a bright but detailed sky.
Common mistakes and how to fix them
- Trusting the meter’s average. It protects the sky and kills the face. Meter the subject instead.
- Shooting JPEG. Backlight needs highlight recovery, which RAW provides and JPEG largely does not.
- Letting the bare sun hit the lens. Block it with the subject or a hand to keep contrast.
- Over-flashing the fill. Full-power flash flattens the mood. Dial it down until it only lifts the shadows.
- Forgetting to clean the lens. Smudges turn manageable flare into a foggy mess.
Action checklist
- Decide first: silhouette or glow.
- For a lit subject, spot meter the face or add +1 to +2 exposure compensation.
- Shoot RAW to recover the sky later.
- Add fill with a reflector or low-power flash.
- Hide the sun behind the subject’s head to control flare.
- Use a lens hood and wipe the front element clean.
- Check the histogram to confirm highlights are bright but not fully clipped.
Conclusion
Backlight is not a setting you fight; it is a light you shape. On your next golden-hour shoot, put the sun behind your subject, meter for the face, and add a reflector. That single sequence turns the hardest light of the day into the most flattering.
FAQ
Why is my subject’s face dark when I shoot toward the sun?
The camera meters the bright background and underexposes everything else. Meter for the face with spot metering or add positive exposure compensation.
What is the best time of day for backlit photos?
The hour after sunrise and before sunset, when the sun is low. The light is softer, warmer, and easier to position behind your subject.
Do I need flash for backlighting?
Not always. A reflector often looks more natural and costs less. Flash helps when the ambient shadow is too deep for a reflector to fill.
How do I stop my photos from looking hazy and washed out?
Keep the bare sun off your front element. Block it with the subject’s head or a hand out of frame, use a lens hood, and keep the lens clean.
References
Cambridge in Colour covers dynamic range and metering modes in detail. Manufacturer manuals explain your camera’s spot metering and exposure compensation controls.